Monthly PC Cleaning Schedule: Gamers’ Guide to Peak Performance 2026
In the fast-paced world of PC gaming, where every frame per second counts and system stability is paramount, the health of your gaming rig is non-negotiable. Yet, many US gamers overlook one of the most crucial aspects of PC maintenance: regular cleaning. A monthly PC cleaning schedule isn’t just about aesthetics; it’s a vital practice that directly impacts your system’s performance, longevity, and overall gaming experience. In 2026, with increasingly demanding titles and hardware, neglecting this simple routine can lead to a cascade of problems, from frustrating frame drops and system crashes to permanent hardware damage caused by overheating. This comprehensive guide will walk you through establishing an effective monthly PC cleaning schedule, ensuring your gaming machine remains a powerhouse for years to come.
Why a Monthly PC Cleaning Schedule is Essential for Gamers in 2026
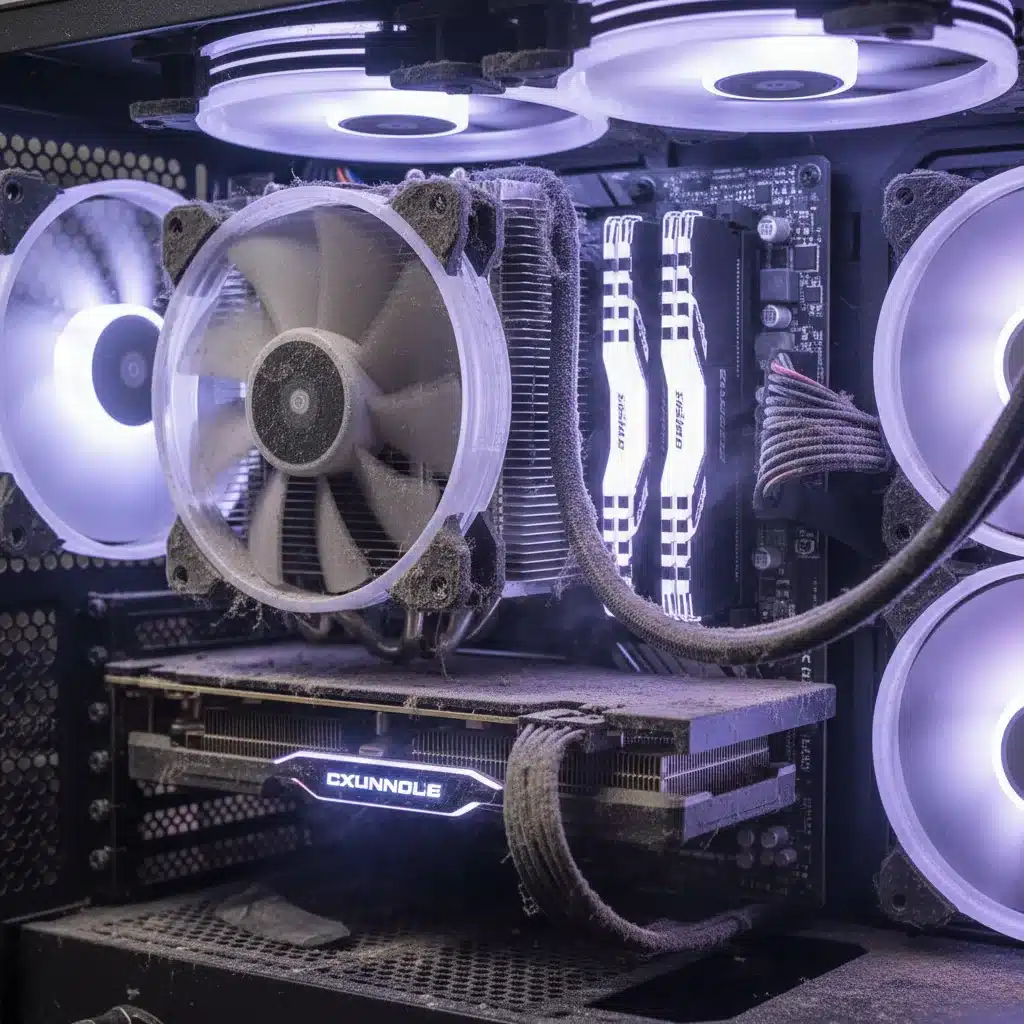
The digital battlegrounds of today require powerful machines, and these machines generate significant heat. Dust, pet dander, and other airborne particles are the silent assassins of PC performance. They accumulate on fan blades, clog heatsinks, and insulate critical components, trapping heat inside your system. This leads to higher operating temperatures, which in turn force your components to throttle their performance to prevent damage. This phenomenon, known as thermal throttling, directly translates to reduced frame rates, stuttering gameplay, and an overall diminished gaming experience. A consistent PC cleaning schedule mitigates these risks, allowing your components to operate at their optimal temperatures and deliver their intended performance.
Beyond performance, the long-term health of your PC is at stake. Prolonged exposure to high temperatures can significantly shorten the lifespan of your CPU, GPU, and other sensitive components. Capacitors can degrade faster, solder joints can weaken, and the risk of component failure increases dramatically. Investing a small amount of time each month into a dedicated PC cleaning schedule is a proactive measure that can save you hundreds, if not thousands, of dollars in potential repairs or replacements down the line. It’s an investment in your gaming future.
Understanding the Enemies: Dust, Dirt, and Debris
Before we dive into the cleaning process, it’s important to understand what you’re fighting against. Dust is the primary culprit, a mixture of dead skin cells, textile fibers, environmental pollutants, and microscopic debris. When combined with the static electricity generated by PC components and the airflow from fans, dust is drawn into your case like a magnet. Over time, it forms thick blankets on heatsinks and chokes airflow, turning your cooling system into an insulator. Pet hair, especially from long-haired animals, can exacerbate this problem, forming dense mats that are particularly effective at blocking vents and fans.
Beyond dust, other forms of debris can find their way into your PC. Crumbs from snacks, spills from drinks, and even small insects can contribute to blockages and potential short circuits. A comprehensive PC cleaning schedule addresses all these potential contaminants, ensuring every nook and cranny of your system is free from performance-impeding invaders.
Tools of the Trade: What You’ll Need for Your Monthly PC Cleaning Schedule
Before you begin your cleaning ritual, gather the necessary tools. Having everything at hand will make the process smoother and more efficient:
- Compressed Air: Absolutely essential for blasting away dust from hard-to-reach areas, fans, and heatsinks. Always use short bursts and hold the can upright to prevent propellant discharge.
- Anti-Static Wrist Strap: Crucial for preventing electrostatic discharge (ESD), which can permanently damage sensitive PC components. Connect it to an unpainted metal part of your PC case.
- Microfiber Cloths: Ideal for wiping down surfaces, cables, and the exterior of your PC without leaving lint or scratches.
- Isopropyl Alcohol (90%+): Excellent for cleaning thermal paste residue from CPUs/GPUs (if reapplying thermal paste) and for general cleaning of non-sensitive components.
- Cotton Swabs/Q-tips: Useful for precise cleaning in tight spaces, such as around fan blades or heatsink fins.
- Small Brush (Soft Bristle): A soft-bristled paintbrush or a dedicated electronics cleaning brush can help dislodge stubborn dust without causing damage.
- Screwdriver Set: You’ll likely need a Philips head screwdriver to open your PC case and potentially remove components like your GPU or CPU cooler for thorough cleaning.
- Vacuum Cleaner (with caution): While generally discouraged for direct use inside the PC due to static, a vacuum can be used *around* the PC to clean up dislodged dust from the floor or desk after the internal cleaning is complete. NEVER use it directly on components.
- Flashlight/Headlamp: To illuminate dark corners and ensure no dust bunnies are left hiding.
The Step-by-Step Monthly PC Cleaning Schedule for Gamers
Now, let’s break down the monthly PC cleaning schedule into manageable steps. Remember to always work in a well-ventilated area and take your time.
Step 1: Preparation and Safety First (Every Month)
- Power Down and Unplug: Completely shut down your PC, then unplug it from the wall outlet. This is the most critical safety step.
- Disconnect Peripherals: Unplug all external devices: monitor, keyboard, mouse, speakers, USB drives, etc.
- Move to a Suitable Location: Take your PC to an open, well-ventilated area, preferably outdoors or in a garage, to avoid recirculating dust back into your living space.
- Ground Yourself: Attach your anti-static wrist strap to your wrist and connect the other end to an unpainted metal part of your PC case to dissipate any static electricity from your body.
Step 2: External Cleaning (Every Month)
While the internal cleaning is paramount, don’t neglect the exterior. A clean exterior contributes to overall hygiene and prevents dust from re-entering the system.
- Wipe Down Case Exterior: Use a microfiber cloth, lightly dampened with water or a mild cleaning solution (if necessary), to clean all external surfaces of your PC case.
- Clean Vents and Filters: Many modern cases have removable dust filters on intake fans. Carefully remove these and clean them thoroughly with water and mild soap, or simply brush off the dust. Ensure they are completely dry before reattaching. For non-removable vents, use compressed air and a brush.
- Clean Peripherals: Don’t forget your keyboard, mouse, and monitor. These can harbour a surprising amount of dust and germs. Use compressed air for keyboards and a microfiber cloth with a screen cleaner for monitors.
Step 3: Internal Dust Removal (Every Month)
This is where the magic happens. A thorough internal dusting is the cornerstone of any effective PC cleaning schedule.
- Open the Case: Carefully remove the side panel(s) of your PC case. Consult your case manual if you’re unsure how.
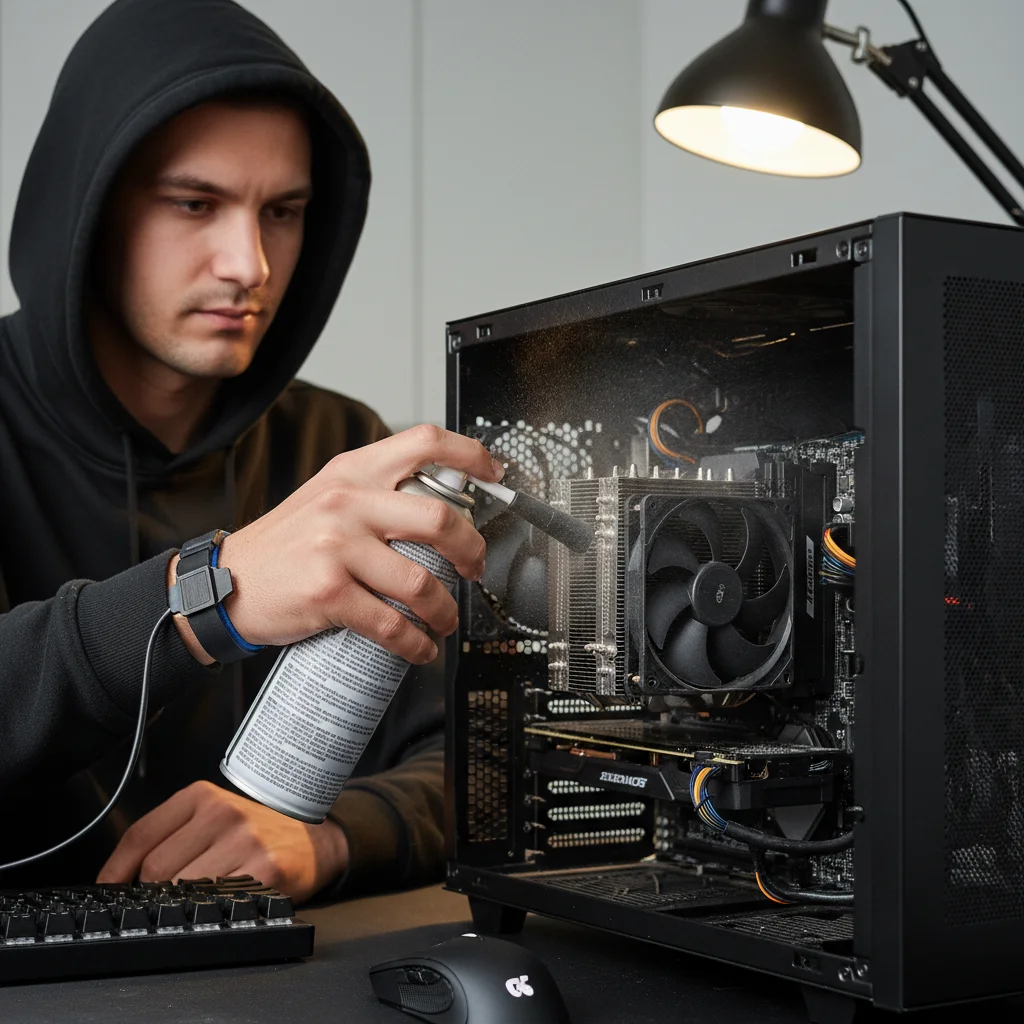
- Initial Blast with Compressed Air: Start with a general sweep using compressed air. Hold the can upright and use short, controlled bursts. Focus on areas where dust is visible.
- CPU Cooler and Fan: This is often the dustiest component. If your CPU cooler has a removable fan, detach it. Use compressed air to clean both the fan blades and the heatsink fins. Use a cotton swab or soft brush to dislodge stubborn dust.
- GPU Fans and Heatsink: Your graphics card is another major heat generator and dust magnet. Carefully clean the fans and heatsink fins with compressed air. If your GPU is particularly dusty and you’re comfortable, you might consider carefully removing it to get better access, but this is usually not necessary for a monthly clean.
- Case Fans: Clean all intake and exhaust fans. Hold the fan blades gently to prevent them from spinning rapidly, which can damage the bearings or generate static electricity. Use compressed air and a brush.
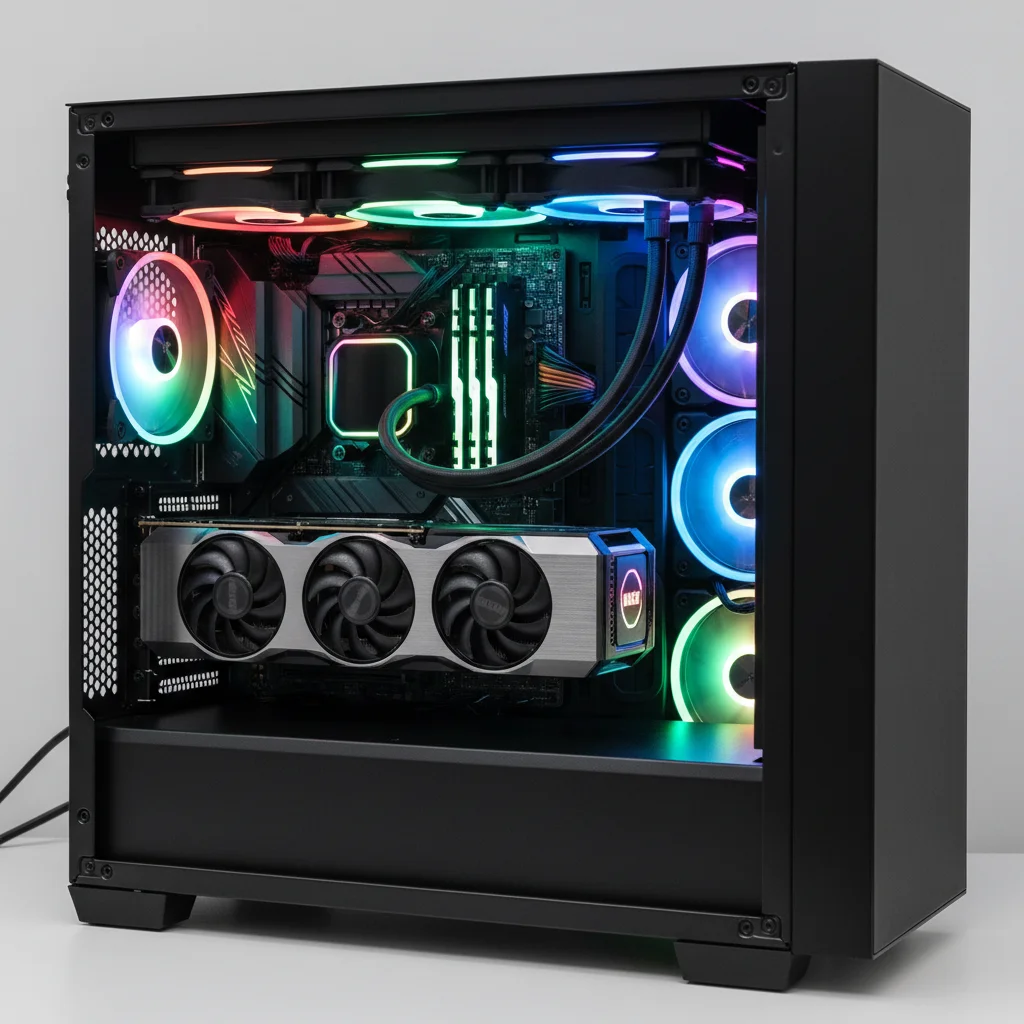
- Radiators (if liquid cooling): If you have an AIO (All-in-One) liquid cooler or a custom loop, clean the radiator fins with compressed air.
- Power Supply Unit (PSU): Most PSUs have an intake fan. Use compressed air to blow dust out of the PSU’s vents. Be cautious here; don’t open the PSU itself, as it contains dangerous capacitors.
- Motherboard and RAM: Gently blow compressed air across the motherboard, RAM sticks, and other components to remove surface dust. Use a soft brush for any stuck-on debris.
- Cable Management: While not directly a cleaning step, good cable management improves airflow and reduces dust accumulation points. If your cables are a mess, consider tidying them up.
Step 4: Reassembly and Verification (Every Month)
- Replace Dust Filters: Ensure all cleaned dust filters are properly reattached.
- Close Case: Securely reattach the side panel(s) of your PC case.
- Reconnect Peripherals: Plug all your external devices back in.
- Power On and Monitor: Turn on your PC and listen for any unusual noises. Use monitoring software (like HWMonitor or MSI Afterburner) to check CPU and GPU temperatures at idle and under load to confirm improved cooling.
Beyond Monthly: Quarterly and Bi-Annual Deep Cleaning Tasks
While the monthly PC cleaning schedule covers general dust removal, some tasks are best performed less frequently but with greater attention to detail. Integrate these into your routine for comprehensive PC health.
Quarterly (Every 3 Months):
- GPU Deep Clean: If you’re comfortable, remove your graphics card and give its heatsink and fans a more thorough cleaning. You might carefully remove the shroud to get better access to the fins.
- Cable Management Review: Re-evaluate your cable management. Are there areas where dust is accumulating? Can you improve airflow further?
- Fan Bearing Check: Listen to your fans for any new grinding or whining noises, which could indicate failing bearings. Consider replacing noisy fans.
Bi-Annually (Every 6 Months):
- Thermal Paste Reapplication (CPU/GPU): This is a more advanced task. Over time, thermal paste between your CPU/GPU and their respective coolers can dry out and become less effective. Reapplying fresh thermal paste can significantly improve thermal conductivity. If you’re not confident, seek professional help.
- PSU Internal Clean (Advanced): If your PSU is particularly old or operating in a very dusty environment, and you’re experienced with electronics, you might consider opening it for a more thorough internal clean. However, this carries a risk of electric shock and should only be attempted by those who know what they are doing. For most users, external compressed air cleaning is sufficient.
- Storage Drive Health Check: While not a physical clean, performing a health check on your SSDs (using SMART data tools) and HDDs (using manufacturer tools) can identify potential issues before they lead to data loss.
Pro Tips for an Optimal PC Cleaning Schedule
- Environmental Control: Keep your gaming space as clean as possible. Regularly vacuum floors, dust surfaces, and consider an air purifier to reduce airborne particles.
- Positive Air Pressure: Configure your case fans to create positive air pressure (more intake fans than exhaust fans). This forces air out through small gaps, preventing dust from being sucked in through unfiltered openings.
- Quality Dust Filters: Invest in high-quality dust filters for all intake vents. Clean them regularly.
- Avoid Smoking: Smoking near your PC will coat components in a sticky, tar-like residue that attracts and holds dust, making cleaning much harder and less effective.
- Don’t Over-Clean: While regular cleaning is good, excessive or aggressive cleaning can cause damage. Stick to the monthly PC cleaning schedule and avoid unnecessary disassembly.
- Backup Your Data: Before any major cleaning or component manipulation, always ensure your important data is backed up. This is good practice regardless of cleaning.
- Watch Tutorials: If you’re new to PC cleaning, watch some reputable YouTube tutorials. Visual guides can be incredibly helpful.
The Long-Term Benefits of a Dedicated PC Cleaning Schedule
Adhering to a monthly PC cleaning schedule offers a multitude of benefits that extend far beyond simply having a dust-free machine:
- Sustained Peak Performance: Your CPU and GPU will run cooler, preventing thermal throttling and ensuring you get the maximum performance your hardware is capable of, especially crucial for demanding games in 2026.
- Extended Hardware Lifespan: Lower operating temperatures reduce stress on components, significantly prolonging the life of your expensive CPU, GPU, RAM, and motherboard. This means fewer costly upgrades or replacements.
- Increased System Stability: Overheating is a common cause of system crashes, blue screens of death (BSODs), and unexpected shutdowns. A clean PC is a stable PC.
- Quieter Operation: When components run cooler, fans don’t need to spin as fast or as loud to maintain acceptable temperatures. Enjoy your games with less distracting fan noise.
- Better Airflow: Clear airways and clean filters ensure optimal airflow throughout your case, creating an efficient cooling ecosystem.
- Higher Resale Value: A well-maintained PC, both internally and externally, will command a higher resale value should you decide to upgrade in the future.
- Personal Satisfaction: There’s a certain satisfaction that comes from knowing your gaming rig is in pristine condition, running smoothly and efficiently.
Common Misconceptions and Mistakes to Avoid
Even with good intentions, some common pitfalls can turn your cleaning efforts into damage. Be aware of these:
- Using a Household Vacuum Inside the PC: As mentioned, household vacuums generate static electricity that can fry components. They also have powerful suction that can dislodge small components. Stick to compressed air.
- Blowing into the PC with Your Mouth: Your breath contains moisture, which is detrimental to electronics. It’s also not powerful enough to dislodge stubborn dust.
- Not Grounding Yourself: Forgetting the anti-static wrist strap is a recipe for disaster. ESD is invisible and silent but can cause irreparable damage.
- Over-Spraying Compressed Air: Using long, continuous bursts of compressed air can cause the can to get very cold, potentially releasing liquid propellant which can damage components. Use short, controlled bursts.
- Not Holding Fan Blades: Allowing fans to spin freely at high speeds from compressed air can damage their bearings or generate static.
- Using the Wrong Cleaning Solutions: Stick to isopropyl alcohol (90%+) for electronics. Avoid water, Windex, or other household cleaners, as they can leave residues or cause corrosion.
- Ignoring Cable Management: While not a cleaning mistake per se, poor cable management can significantly hinder airflow, making your cleaning efforts less effective.
Conclusion: Embrace the Monthly PC Cleaning Schedule for Uninterrupted Gaming Bliss
In 2026, a gaming PC is a significant investment, and like any high-performance machine, it requires regular care and attention. Adopting a strict monthly PC cleaning schedule is not just a chore; it’s a fundamental aspect of responsible PC ownership that will pay dividends in sustained performance, enhanced longevity, and a consistently superior gaming experience. By dedicating a small amount of time each month to these simple yet crucial steps, you’ll ensure your rig remains cool, quiet, and ready to tackle the most demanding titles the future has to offer. Don’t let dust be the bottleneck in your gaming adventures. Clean smart, game hard!